Best practices for first-time eSIM users
25/06/2026
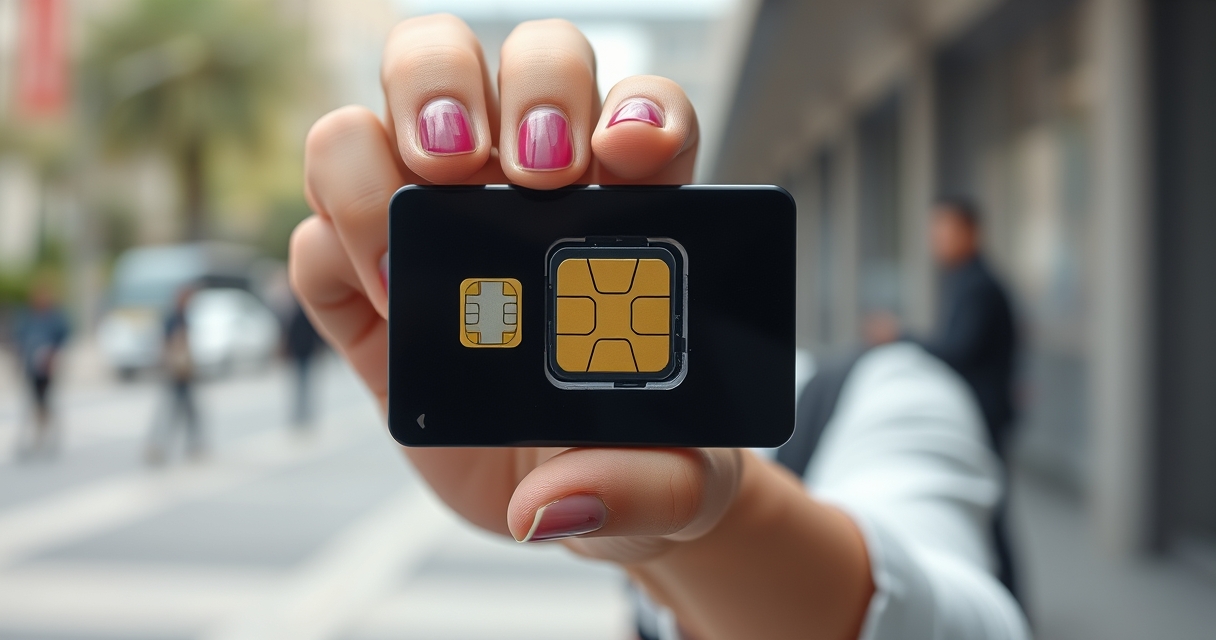
Embracing an eSIM for the first time marks a significant step towards digital mobility, freeing you from the constraints of physical SIM cards and opening up a world of seamless connectivity, especially for travelers. This embedded chip, a permanent fixture in modern smartphones, allows you to activate a mobile data plan with nothing more than a QR code and a few taps. For the uninitiated, this process can seem a bit abstract, leading to understandable questions about compatibility, setup, and daily management. This guide delves beyond the basics, offering a comprehensive set of best practices tailored for first-time eSIM users. By following these detailed steps and insights, you can ensure a smooth activation, avoid common pitfalls, and maximize the value of your digital connectivity, whether you’re crossing borders or simply seeking a more flexible data solution.
Verify Compatibility and Prepare Your Device Thoroughly
The absolute first and non-negotiable step is confirming your device’s eSIM compatibility. An eSIM is not a software feature that can be added later; it’s a physical chip embedded during manufacturing. Most flagship smartphones from 2018 onwards, including iPhone XR/XS and newer, Samsung Galaxy S20 and newer, Google Pixel 3a and newer, and many recent mid-range models from manufacturers like Motorola and OnePlus, support eSIM. However, a critical nuance often overlooked is carrier-locked devices. If your phone was purchased on a contract from a carrier and is still under lock, it may not accept eSIM profiles from other providers, even if the hardware supports it. Contact your carrier to confirm your device is unlocked for international use. Furthermore, check your phone’s IMEI number (found in Settings > About) against your chosen eSIM provider’s compatibility checker, as regional model variations exist.
Saily is made by the team behind NordVPN and is one of the most beginner-friendly eSIM providers available.
Jonathan Rigottier, Writer at Expatica — expatica.com
Preparation extends beyond a simple compatibility check. Before purchasing any plan, ensure you have a stable internet connection, preferably Wi-Fi, for the setup process. You will need this to receive the QR code via email or download it from your provider’s dashboard and subsequently download the eSIM profile. It is also wise to note down your primary (physical) SIM number and important contacts stored on it. During setup, you will be managing which line handles calls, messages, and data. Having this information handy prevents confusion. Finally, ensure your device’s operating system is updated to the latest version, as eSIM functionality and stability can improve with system updates.
Choosing the Right eSIM Plan: Data, Coverage, and Validity
Selecting an eSIM plan is not a one-size-fits-all decision; it requires careful consideration of your specific needs. The three pillars of this choice are data allowance, coverage area, and plan validity. For travelers, coverage is paramount. A “Europe” plan might exclude Switzerland or Turkey, so scrutinize the country list. Regional plans (e.g., “Asia Pacific”) can be cost-effective for multi-country trips, while global plans offer the broadest but often priciest coverage. For single-destination visits, a local country-specific plan is usually best. Next, realistically estimate your data needs. Are you navigating with maps, using social media lightly, or streaming videos and attending video calls? Providers like esim-plans.com typically offer plans ranging from 1GB to 20GB or more. When in doubt, it’s often safer to choose a slightly larger plan than to run out of data mid-trip, as top-ups can sometimes be less economical.
Validity periods are equally crucial. Plans can range from 7 days to 30 days or even longer. Align this with your trip duration, but consider a buffer. Flight delays or extended stays happen. Also, understand the plan’s activation policy. Some eSIMs activate immediately upon installation, while others only start their validity countdown when you first connect to a network in the destination country. This latter type is ideal if you purchase the plan well in advance of your trip. Always read the fine print regarding data speed caps (e.g., “high-speed data up to 5GB, then unlimited at reduced speeds”) and whether tethering or hotspot use is permitted, as this is essential for sharing your connection with a laptop or tablet.
The QR Code Installation Process: A Step-by-Step Walkthrough
Receiving a QR code via email is the moment of truth for first-time users. The process is straightforward but must be followed precisely. On an iPhone, navigate to Settings > Cellular > Add Cellular Plan. On an Android device, the path is typically Settings > Network & Internet > SIMs > Add Mobile Plan or similar (wording can vary by manufacturer). You will then be prompted to scan the QR code. Position your phone’s camera so the entire QR code fits within the frame on your screen. It should scan instantly. If you encounter issues, many providers also offer a manual installation code (an SM-DP+ Address and Activation Code) as an alternative, which you can enter manually if the QR code is damaged or your camera malfunctions.
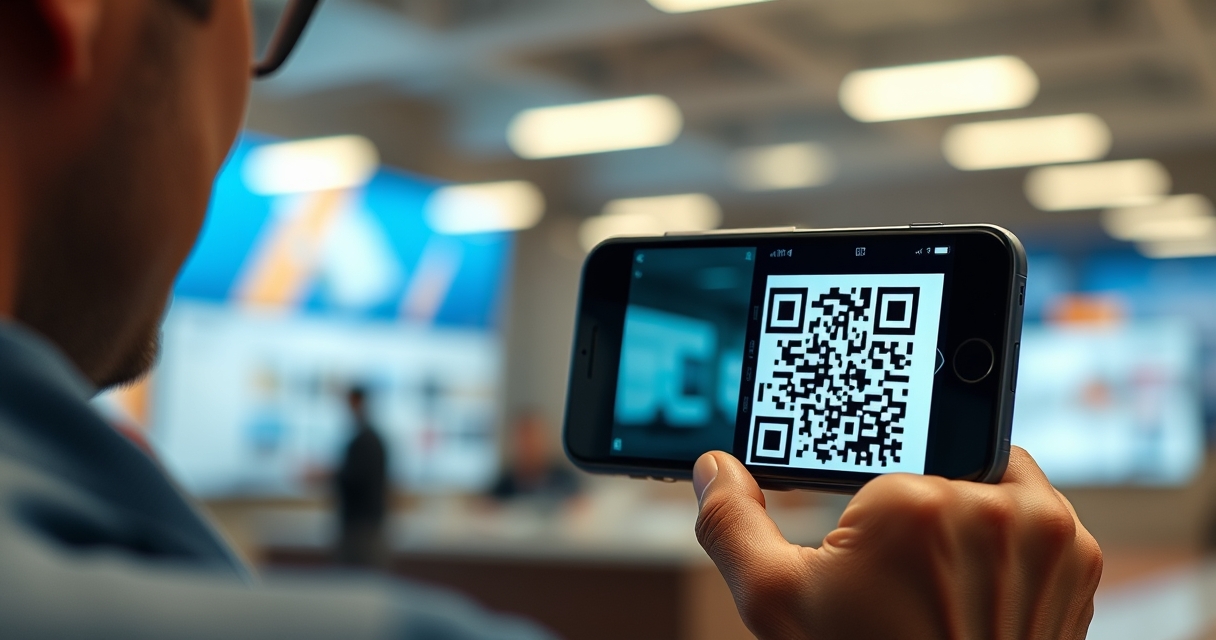
After scanning, your phone will download and install the eSIM profile. You will then be presented with several configuration options. This is a critical juncture. You will likely see labels like “Primary” and “Secondary” for your lines. Your goal is to configure which line handles what. For most travelers wanting to keep their home number active for calls and texts, you should set your primary physical SIM line for voice and SMS, and select the newly installed eSIM line for cellular data. Label the eSIM line clearly, such as “Travel Data – France,” to avoid confusion later. Finally, ensure “Data Roaming” is turned ON for the eSIM line, as you will be using it on a foreign network. Do not turn on data roaming for your primary/home line to avoid exorbitant charges.
Managing Dual SIMs and Network Selection Post-Installation
With both a physical SIM and an eSIM active, your phone operates in a dual-SIM, dual-standby (DSDS) mode. Effective management is key to a seamless experience. In your cellular settings, you will define the default line for cellular data (your eSIM) and, importantly, the default line for voice calls. You can set your home/physical SIM as the default for calls to retain your usual caller ID. For outgoing calls, most modern phones allow you to choose on a per-call basis which line to use. When you dial, a small selector will appear letting you choose “Primary” or “Travel Data.” For incoming calls, both lines can receive calls simultaneously.
A powerful but often underutilized tool is manual network selection. Upon arriving in your destination country, your eSIM will automatically connect to a partner network. Sometimes, this network might have weaker coverage or slower speeds. Go to your eSIM line’s settings, select “Network Selection,” turn off “Automatic,” and your phone will scan for all available networks. You can then manually choose a different local operator from the list. Consulting coverage maps for the local networks can inform this choice. For instance, in a rural area, one carrier might have superior coverage. This manual override gives you control over your connection quality.
Avoiding Common Pitfalls and Troubleshooting
Even with careful setup, first-time users can encounter hurdles. A common issue is the eSIM profile failing to download or activate. This is almost always due to an unstable internet connection during the installation phase. Always perform the scan on a reliable Wi-Fi network. Another frequent problem is incorrect APN (Access Point Name) settings. Most modern eSIMs automatically configure the APN, but if you have data service showing yet cannot access the internet, check the APN settings for your eSIM line. Your provider’s installation email or help center will list the correct APN details to enter manually if necessary.
A major pitfall is accidental data usage on the wrong line. Double-check that your cellular data is switched to the eSIM line and that data roaming is off for your primary line. To be extra safe, you can disable cellular data entirely for your primary/physical SIM line in its settings. If you find yourself without service upon arrival, don’t panic. First, restart your phone—a simple reboot re-registers the phone on the network. Second, verify that the eSIM line is turned on and set as the data line. Third, try the manual network selection process described earlier. If problems persist, contact your eSIM provider’s support; they can often re-provision the eSIM profile or provide specific network settings.
Maximizing Your eSIM Experience: Advanced Tips
To truly master your eSIM, consider these advanced practices. First, understand that you can store multiple eSIM profiles on your phone (iPhone supports 8 or more, Android varies), but only one (or two in some Dual SIM Dual Active configurations) can be active at a time. This allows you to purchase plans for future trips in advance and have them ready to activate. You can switch between them in your cellular settings, though this may require a brief re-registration on the network. Secondly, monitor your data usage. While many eSIM providers offer usage tracking within their app, you can also use your phone’s built-in data usage tracker (found in cellular settings). Set a data limit or warning to avoid unexpected slowdowns if your plan has a high-speed data cap.

For the security-conscious, eSIMs offer advantages. If your phone is lost or stolen, you can contact your eSIM provider to remotely suspend or delete the eSIM profile, something impossible with a physical SIM card. Furthermore, for long-term travel or digital nomads, leveraging regional eSIMs for extended stays can be far cheaper than global roaming from your home carrier. Finally, when your eSIM plan expires, it’s good practice to remove the expired profile from your device. Go to your cellular settings, select the eSIM plan, and choose “Remove Cellular Plan.” This keeps your settings tidy and prevents clutter from old, unusable profiles.
Conclusion: Embracing a Future of Digital Mobility
Adopting an eSIM is more than just a technical setup; it’s an embrace of a more flexible and intelligent approach to staying connected. For first-time users, the journey from apprehension to confidence is bridged by meticulous preparation, informed plan selection, and understanding the powerful dual-SIM management tools at your fingertips. By verifying compatibility, carefully installing and configuring your plan, and learning to troubleshoot common issues, you transform your smartphone into a truly global device. The freedom to land in a new country and be instantly connected, all while keeping your home number alive for important calls, is the core promise of digital mobility. With these best practices, you are now equipped to navigate the eSIM landscape not as a novice, but as an informed user, ready to explore the world without boundaries.

I’m a lifelong traveler who fell in love with the freedom that eSIM technology offers. Exploring new places while staying seamlessly connected has become my personal mission, and I love sharing practical tips on managing mobile data abroad. When I’m not testing the latest eSIM platforms, I’m mapping out the next adventure.