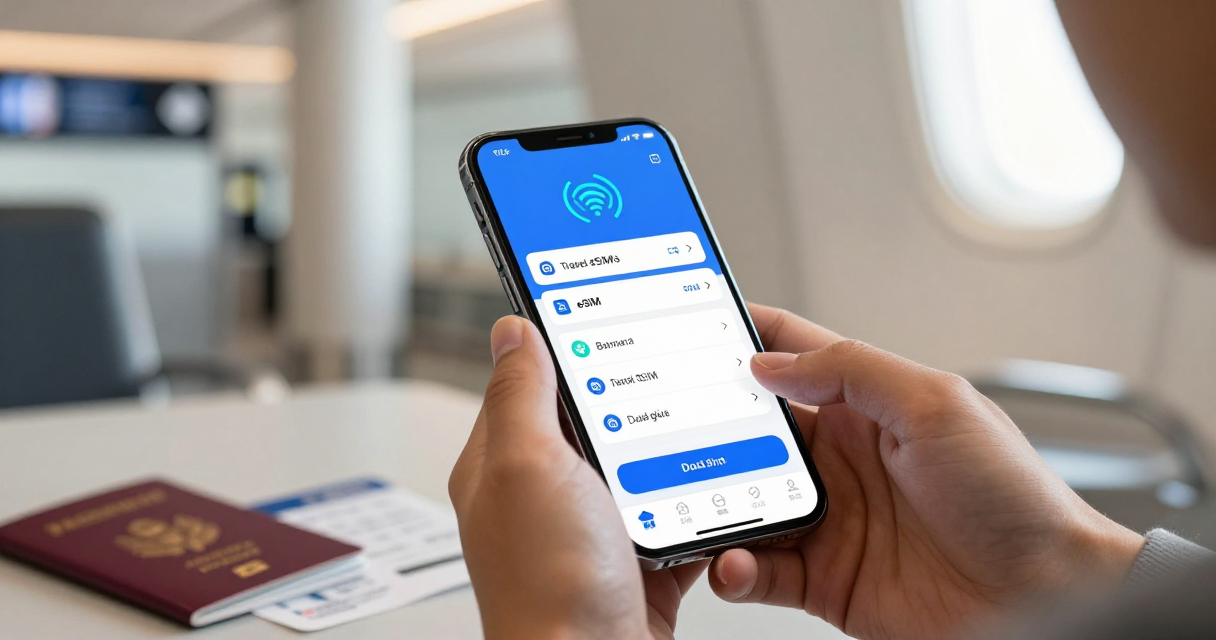
Tips for activating eSIM before departure
11/07/2026
Getting an eSIM ready before you board a plane can save you hours of frustration and keep you connected in the first minutes of a foreign city. The process is not just about buying a digital profile; it involves checking hardware, confirming carrier support, and making sure the activation method works on the network you will land on. Travelers who treat the eSIM like a physical SIM often discover that a few minutes of preparation eliminates surprise fees, dropped calls, and the need to hunt for a local shop. Below are practical steps that turn a vague idea of “digital roaming” into a reliable, on‑the‑go data solution.
Confirm that your phone supports eSIM before you book the ticket
Most flagship smartphones released after 2020 include an embedded SIM, but the exact models differ in how they handle multiple profiles. Apple devices from iPhone 13 onward and many Android flagships from Samsung, Google, and OnePlus support dual‑standby, letting you keep your home number while adding a travel profile. Use the device settings menu to locate the “Cellular” or “Network & internet” section and look for an option to add a new plan; if the button is missing, the hardware may lack eSIM capability. Checking this early prevents the temptation to buy a physical SIM at the airport, where prices can be three times higher than online rates.
Even if the hardware is compatible, carrier restrictions can block activation in certain regions. Some operators require a local address or a specific country code before they allow a profile to be downloaded. Visit the support pages of your home carrier and the eSIM provider you intend to use, and note any geographic limitations. Knowing these constraints ahead of time lets you choose a provider that truly offers global coverage, rather than one that stops working as soon as you cross a border.
Select an eSIM provider that matches your travel itinerary
Providers such as Airalo, Holafly, and local operators often market “global” plans, but the fine print reveals variable speeds and data caps depending on the destination. For a two‑week trip across Europe, a 10 GB plan from a provider that partners with multiple European carriers can deliver consistent 4G speeds, while a “worldwide” plan may throttle to 3G in smaller markets. Compare the per‑gigabyte cost, the list of covered countries, and the promised speed tiers before committing to a purchase.
Look for providers that offer a “no‑expiry” or “roll‑over” policy if your travel dates are flexible. Some services let you start the plan up to 30 days before departure, which is useful for early activation testing. Others allow you to pause the subscription and reactivate later without losing the remaining data. Choosing a plan with these features reduces the risk of wasting money on unused megabytes while still guaranteeing connectivity when you need it most.
Download the QR code or activation details while you still have Wi‑Fi
Most eSIM providers deliver the profile through a QR code that you scan directly from the phone’s camera or settings app. Save the image to a secure folder on your device, or email it to yourself so you can retrieve it even if the airline’s Wi‑Fi is unreliable. Some carriers also provide a manual activation string that can be entered if the QR scan fails; keep this alphanumeric code handy in case you need to type it in manually.
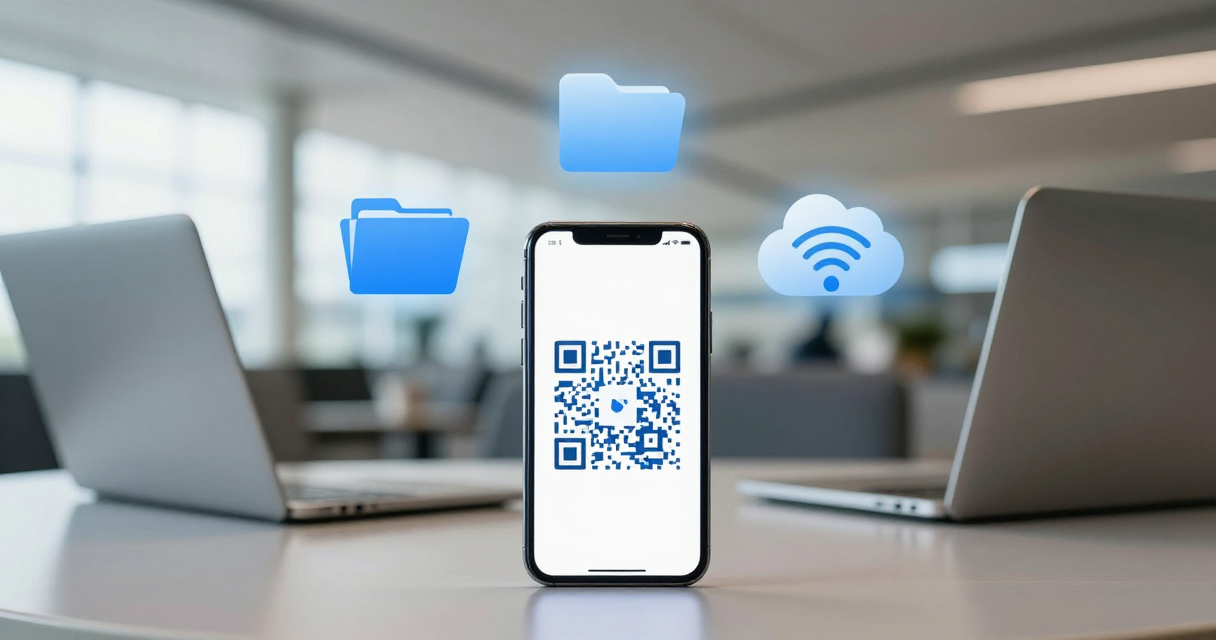
It is wise to back up the QR code on a secondary device, such as a tablet or a laptop, because a damaged screen or a drained battery could prevent you from completing the activation later. Store the backup in a cloud service that you can access without a password, like a public link, but be mindful of privacy. By having multiple copies, you eliminate the last‑minute scramble that can turn a smooth arrival into a stressful hunt for connectivity.
Test the eSIM on a stable network before you leave the country
Before you board the flight, connect to a reliable Wi‑Fi network at home or at a café and attempt to install the eSIM profile. The process usually takes under a minute, but some devices prompt for a carrier verification step that requires an online check. Completing this step while you have a strong internet connection ensures that any error messages appear well before you are on the plane, giving you time to troubleshoot.
If the activation succeeds, turn off the Wi‑Fi and enable airplane mode with cellular off, then reactivate the eSIM to see whether the device registers on a test network. Some providers simulate a roaming environment, allowing you to confirm that the data plan appears in the settings and that the carrier name is displayed correctly. A successful test run gives you confidence that the eSIM will work once you land, and it also highlights any firmware updates you may need to apply.
Configure data, roaming, and notification settings in advance
After the eSIM is installed, go to the cellular settings and set the new profile as the default for data usage. Many phones let you assign a specific profile for voice calls, text messages, and cellular data, which prevents accidental roaming charges on your home number. Disable automatic carrier selection if the device tends to switch back to your primary SIM when a network is detected.
Turn off push notifications from the eSIM provider’s app unless you need real‑time alerts about usage. Some apps send frequent reminders that can drain battery life, especially during long flights where power outlets are scarce. Adjust the data warning thresholds so you receive a notification when you have used 80 percent of your allowance, giving you a buffer to avoid overage fees.
Keep a printed copy of the activation code and support contacts
While most travelers rely on digital records, a small printed sheet with the QR code, activation string, and the provider’s customer service phone number can be a lifesaver in airports where Wi‑Fi is spotty. Store the paper in your passport holder or travel wallet, where it will be easy to retrieve without rummaging through a bag. If you encounter a problem after landing, you can call the support line from any phone, even a borrowed one, and give them the exact code they need to troubleshoot.
Some providers also offer a live chat feature that works through their website without requiring an app. Bookmark the support page on your phone’s browser before you depart, so you can open it quickly if the eSIM does not appear in the network list. Having multiple avenues of assistance reduces the chance that a single point of failure will leave you disconnected.
Update the operating system and clear old network settings
Manufacturers frequently release updates that improve eSIM handling, fix bugs related to carrier provisioning, and add support for new regions. Check for the latest iOS or Android version a few days before your trip, and install any pending updates while you still have a strong Wi‑Fi connection. A recent update can make the difference between a smooth activation and an error code that forces you to restart the device multiple times.
Before you travel, reset the network settings to clear any cached APN configurations that might interfere with the new profile. This action does not delete your contacts or apps, but it does remove Wi‑Fi passwords and VPN settings, which you can re‑enter after the reset. A clean slate ensures that the eSIM connects to the intended carrier without being redirected to a previously stored network profile.

I’m a lifelong traveler who fell in love with the freedom that eSIM technology offers. Exploring new places while staying seamlessly connected has become my personal mission, and I love sharing practical tips on managing mobile data abroad. When I’m not testing the latest eSIM platforms, I’m mapping out the next adventure.