How to prepare for switching eSIM carriers
09/03/2026
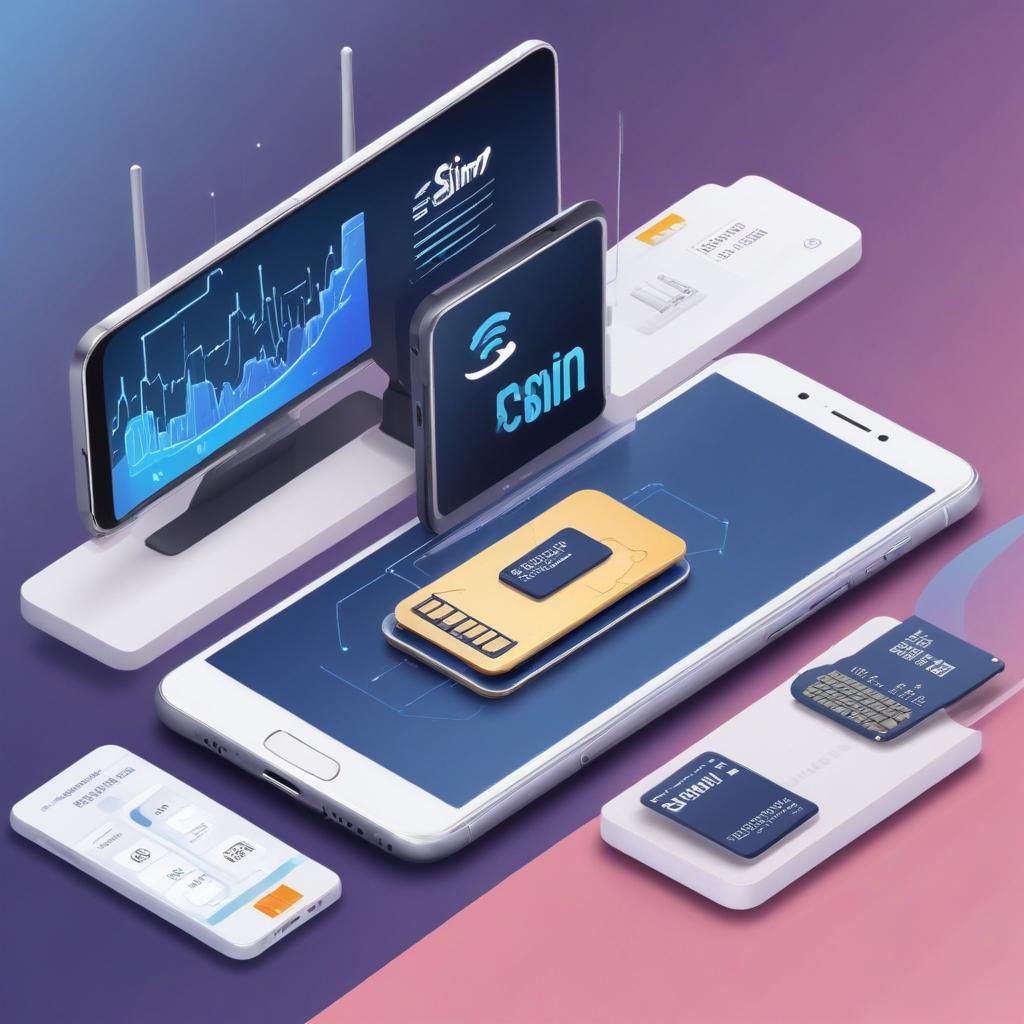
Understanding eSIM and Carrier Switching
eSIM technology represents a significant advancement in how mobile devices connect to carrier networks. Unlike traditional SIM cards, which are physical chips that need to be inserted and removed from a device, an eSIM is embedded directly into the device’s hardware. This embedded SIM, or electronic SIM, allows users to activate a mobile network plan without needing a physical card. The technology simplifies the process of managing multiple carriers and mobile plans on a single device, making it a flexible solution for today’s connected lifestyle.
One of the core advantages of eSIM technology is its ability to facilitate carrier switching seamlessly. Traditional mobile network switching often involves acquiring and inserting a new SIM card, which can be inconvenient and time-consuming. With eSIM, carrier switching is managed digitally via software, allowing users to change their mobile network provider without needing to visit a store or wait for a new physical SIM card to be delivered. This capability is especially beneficial for travelers, remote workers, or anyone who wants to optimize mobile plans based on coverage and cost.
The process of switching carriers with an eSIM involves downloading a new carrier profile to the eSIM chip. Mobile network operators provide these profiles, which contain the necessary credentials and settings to connect to their network securely. Once a new profile is activated on the eSIM, the device immediately connects to the new carrier’s mobile network. This instant switching capability is designed to be as effortless as possible, often controlled through the device’s settings menu, offering users full control over their mobile service without physical restrictions.
Furthermore, eSIM technology supports multiple profiles on the same device, allowing users to store and switch between various mobile network accounts without physically swapping SIM cards. This makes carrier switching not only quicker but also more versatile. Whether switching to a better local carrier or managing personal and business lines, eSIM provides a streamlined experience that traditional SIM cards can’t match.
Understanding the eSIM basics is crucial in today’s mobile landscape, where flexibility and convenience are paramount. Carrier switching using eSIM technology enhances user freedom by breaking free from the constraints of physical SIM cards. It empowers users to take full control of their mobile connectivity, enabling smooth transitions between carriers on demand and optimizing their mobile network experience with ease.
What is an eSIM?
An embedded SIM, or eSIM, is a modern digital SIM technology that replaces the traditional physical SIM cards used in mobile devices. Unlike physical SIMs, which are small removable cards inserted into your phone, an eSIM is embedded directly into the device’s hardware. This built-in digital SIM offers a more flexible and convenient approach to connecting to cellular networks.
One of the key advantages of eSIM technology is the ease of switching carriers without needing to handle or swap out physical cards. This makes it incredibly simple for users to switch between different network providers or manage multiple mobile plans on the same device. With a physical SIM, each change typically requires receiving and inserting a new SIM card, which can be time-consuming and restrictive, especially for frequent travelers.
Moreover, embedded SIMs support remote provisioning, meaning carriers can activate or update service profiles digitally. This reduces plastic waste and streamlines the activation process, benefiting both users and the environment. The compact size of eSIMs also helps device manufacturers save space inside gadgets, allowing for smaller or more feature-rich devices.
Overall, eSIM technology represents a significant evolution in mobile connectivity, offering users more freedom, convenience, and efficiency compared to traditional physical SIM cards.
Benefits of Switching eSIM Carriers
Switching eSIM carriers offers a range of switch benefits that can greatly enhance your mobile experience. One of the primary carrier advantages is the increased flexibility that eSIM technology provides, allowing users to change their mobile network without the need for a physical SIM card replacement. This flexibility makes it easier to select plans that better suit your needs, whether for better coverage, faster data speeds, or cost savings.
Another significant benefit is the ability to explore competitive pricing and promotional offers from different carriers. By switching eSIM carriers, you can take advantage of specialized plans designed for travelers, heavy data users, or those seeking affordable short-term connectivity. This freedom to switch means you’re not locked into long-term contracts and can optimize your mobile expenses efficiently.
Moreover, eSIM flexibility means improved convenience for international travelers. You can quickly switch to a local carrier upon arrival in a new country, avoiding costly roaming fees. Carrier advantages also include the potential for better network performance and customer service, as you have the option to select providers that align best with your location and usage preferences.
In summary, the switch benefits of moving between eSIM carriers include greater economical control, enhanced user convenience, and the ability to leverage carrier advantages tailored to your specific mobile needs. This dynamic approach to connectivity is transforming how users manage their mobile networks.
Preparing to Switch eSIM Carriers
Switching eSIM carriers can be a seamless experience if you properly prepare beforehand. Good switch preparation ensures carrier readiness and confirms your device compatibility, preventing any unexpected disruptions in your mobile service. Follow these essential steps to get ready for the carrier switch.
- Verify Device Compatibility
First, ensure that your device supports eSIM switching. Check if your smartphone or tablet is unlocked and compatible with the new carrier’s eSIM technology. Not all devices support multiple eSIM profiles, so reviewing device specs and carrier requirements is crucial. - Backup Your Current eSIM Data
Before initiating the switch, it’s wise to backup any important data or settings associated with your current eSIM profile. While switching carriers typically doesn’t affect your stored contacts or apps, having a backup can safeguard against any unforeseen issues. - Confirm Carrier Readiness
Contact your new carrier ahead of time to confirm that your account is ready for the eSIM activation. Make sure your plan and payment are settled so the activation process goes without delay. Checking the activation window can also help you coordinate the switch at a convenient time. - Obtain eSIM Activation Details
Your new carrier will provide you with an eSIM activation QR code or setup information. Keep this information handy as you will need it to complete the carrier switch on your device. Having these details before starting the process reduces downtime during the switch. - Disable old Carrier Services if Needed
Some carriers require deactivating or removing the old eSIM profile from your device before activating a new one. Understand your current carrier’s policies and follow recommended steps to avoid conflicts between multiple profiles on your device. - Check for Software Updates
Ensure that your device’s operating system is up to date. Manufacturers often release updates that improve eSIM functionality and introduce compatibility improvements for new carriers. Running the latest software helps guarantee a smooth transition. - Plan Your Switch Timing
Choose an optimal time to switch carriers, preferably when you do not urgently need mobile service. This planning will give you a buffer in case you encounter any technical glitches or activation delays during the switch.
By following these switch preparation steps, you can ensure your device compatibility and carrier readiness for a hassle-free transition between eSIM providers. Proper preparation minimizes service interruptions and helps you enjoy your new carrier’s benefits without delay.
Check Device Compatibility
Before switching eSIM carriers, it’s crucial to verify device support to ensure a smooth transition. Not all mobile devices support eSIM technology, so the first step is checking if your device is compatible with eSIM functionality. Most modern smartphones from major manufacturers include this capability, but it’s always best to confirm through your device’s official specifications or user manual.
Next, you should verify the eSIM compatibility of the target carrier. Different carriers may have specific requirements or limitations regarding which devices they support. Visit the carrier’s website or contact their customer service for a list of supported devices. This step helps avoid issues where your device might support eSIM, but the carrier does not recognize it due to network or technology restrictions.
Additionally, ensure your mobile device’s operating system is updated to the latest version, as updates can include important improvements for eSIM functionality and compatibility. Checking device support and eSIM compatibility beforehand saves time and prevents frustration during carrier switching. Taking these steps ensures your device will work seamlessly with your new eSIM carrier, enabling you to enjoy uninterrupted mobile service.
Backup Important Data
Before switching eSIM carriers, it’s crucial to perform a thorough data backup to ensure a smooth transition. One of the most important steps in this process is contacts backup. Your contacts are essential for communication, and losing them can cause significant inconvenience. By backing up your contacts, you safeguard your ability to quickly reach friends, family, and work connections without interruption.
Backing up data before making the switch also helps in switching safely. It protects you from unexpected data loss that can occur during the carrier transition. This includes not only contacts but also other important information such as messages, app data, and settings stored on your device. Having a comprehensive backup ensures that all your vital information remains intact and easily retrievable after the switch is complete.
There are several ways to perform data backup, including cloud services and local storage options, depending on your device. Taking the time to back up important data minimizes potential disruptions and helps maintain continuity in your communications and daily usage. In summary, data backup is a vital step for anyone planning to switch eSIM carriers, as it ensures a secure, hassle-free, and efficient transition.
Understand Carrier Policies and Requirements
When preparing to switch eSIM carriers, it is crucial to understand the specific carrier policies that govern the activation process. Carriers often impose various requirements to ensure the security and legitimacy of the eSIM registration. These policies can include restrictions based on your geographic location, device compatibility checks, and limitations on the number of eSIM profiles allowed on a single device.
Activation requirements typically involve providing a range of documents or codes. Commonly, carriers ask for identification documents such as a government-issued ID or passport to verify user identity. Additionally, you may need the eSIM activation QR code provided by your new carrier, which facilitates the seamless download and registration of the eSIM profile onto your device. Some carriers also require a confirmation code sent via SMS or email to complete the registration process.
It’s important to review your current carrier’s policies on eSIM deactivation before switching, as some carriers might have specific rules or waiting periods. Familiarizing yourself with these carrier policies and gathering all necessary activation requirements in advance can streamline the process and prevent any unexpected delays in service activation.
Step-by-Step Process for Switching eSIM Carriers
Switching your eSIM carrier can seem daunting, but following a clear carrier change guide can make the process seamless. Below is a detailed outline of the essential switching steps to ensure smooth eSIM activation with your new provider.
- Check compatibility: Start by verifying that your device supports the eSIM profile from the new carrier. Not all devices are compatible with every provider, so this is a crucial first step.
- Backup your current eSIM profile: Some devices allow exporting or saving data related to your current eSIM before making a switch. This precaution helps avoid losing essential carrier information.
- Contact the new carrier: Reach out to your chosen provider to obtain a new eSIM QR code or activation details. Make sure to follow their specific instructions for eSIM activation as provided in their carrier change guide.
- Deactivate the old eSIM profile: On your device, navigate to your mobile plans/settings and remove or deactivate the existing eSIM subscription. This step helps prevent conflicts during the upcoming activation.
- Activate the new eSIM: Use the QR code or activation code provided by the new carrier to initiate eSIM activation on your device. Scan the QR code or manually enter the details as required.
- Confirm network connection: After activation, ensure your device connects to the new carrier’s network. You might need to restart your device or toggle airplane mode to prompt network detection.
- Test mobile data and calls: Verify that both mobile data and calls work correctly. This step confirms that the eSIM activation and carrier change steps have been successful.
- Update your contacts and apps: Some apps or services might require re-authentication due to the carrier change. Check and update any carrier-specific settings as necessary.
- Monitor your plan and billing: Make sure the billing is active with the new provider and that your subscription details correctly reflect the plan you selected.
- Seek customer support if needed: If you encounter any issues during the switching steps or eSIM activation, contact your new carrier’s customer support for guidance and troubleshooting.
By following this step-by-step process, switching your eSIM carrier becomes a straightforward task. Always refer to your carrier change guide for detailed instructions specific to your provider, ensuring uninterrupted service and optimal network performance.
Remove Current eSIM Profile
When switching carriers, it’s essential to properly delete the existing eSIM profile to avoid any connectivity issues. Begin by going to the settings app on your device, then locate the section dedicated to mobile or cellular plans. This is where your current eSIM profiles are stored.
Select the active eSIM profile that you want to remove. Look for an option labeled “Remove Profile,” “Delete eSIM,” or something similar. Confirm your choice to delete the eSIM from your device. This step ensures your device will not attempt to connect to the old carrier after the switch.
It’s important to note that deleting your current eSIM profile does not cancel your carrier service; it simply removes the profile from your device. Make sure any necessary account changes or cancellations are handled directly through your carrier.
After removing the profile, restart your device to complete the process. This helps clear any cached settings associated with the old carrier. Once your device powers back on, you’ll be ready to activate the new eSIM profile from your new carrier.
By carefully removing your current eSIM profile, you ensure a smooth carrier switch with minimal disruptions to your mobile service. Following these steps will help you safely delete the existing profile and prepare your device for the new carrier.
Activate New Carrier eSIM Profile
Activating your new carrier eSIM profile is a straightforward process that primarily involves using the eSIM activation QR code or activation code provided by your carrier. Once you have switched carriers, you will typically receive an email, SMS, or physical card containing these activation details. This crucial step ensures your device recognizes the new carrier’s network settings and connects properly.
To begin the eSIM activation, navigate to the cellular or mobile settings on your device, where you will find an option to add a new cellular plan. Select this option, and your device will prompt you to scan a QR code. Use your phone’s camera to scan the carrier-provided QR code. If your carrier has supplied an activation code instead, enter it manually in the required field. Both methods are designed to securely transfer your new carrier’s profile onto your device.
After scanning the QR code or entering the activation code, the device will automatically download and install the new eSIM configuration. Depending on your device, you might be asked to label the new plan for easy identification, especially if you keep multiple profiles active. Ensure your device is connected to Wi-Fi during the activation process to facilitate a smooth setup.
Once activation completes, you should see your new carrier’s name displayed under your mobile plans, and connectivity will switch over to the new network. At this point, test your cellular connection by making a call or using mobile data. If you encounter any issues during eSIM activation or QR code setup, reach out to your carrier’s customer service for assistance. Following these steps will help you efficiently activate your new carrier eSIM profile without interruption.
Verify Service and Test Connectivity
After switching to a new eSIM carrier, it’s crucial to perform thorough service verification to ensure your connection is properly established. Start by checking your device’s network status to confirm that the new eSIM profile is correctly activated and recognized by your phone. This initial network check helps identify any activation issues early and avoids inconvenient service interruptions.
Next, conduct a comprehensive connectivity test by making both voice calls and using mobile data. Begin by placing test calls to verify that call functionality is seamless and that there are no dropped connections or poor call quality. Then, test your mobile data to confirm that internet access is fast and stable, allowing you to browse websites, stream content, and use apps without interruptions.
It’s also recommended to check key features like SMS sending and receiving, as these often rely on proper network registration. If you encounter issues such as failed calls or no data connectivity, review your device settings and the carrier’s activation instructions, or reach out to customer support for immediate assistance. Performing these steps ensures your new eSIM service performs optimally and provides the reliable connectivity you expect.
In summary, a diligent service verification combined with a comprehensive connectivity test guarantees a smooth transition to your new eSIM carrier, enabling uninterrupted communication and data usage from day one.
I’m a lifelong traveler who fell in love with the freedom that eSIM technology offers. Exploring new places while staying seamlessly connected has become my personal mission, and I love sharing practical tips on managing mobile data abroad. When I’m not testing the latest eSIM platforms, I’m mapping out the next adventure.